Tomorrow is Guy Fawkes Night here in the UK, or Bonfire Night or Fireworks Night, depending on how you are brought up. We celebrate this much more than Halloween and for me there is one thing that I need to feel like it is that time of year again, toffee.
Traditionally in this country we tend to eat Bonfire toffee at this time of year, and for those in other countries it is basically treacle toffee, the darker harsher cousin of traditional hard cracking toffee. However I discovered as a teenager that something which tastes similarly but without gaffing around with treacle is slightly over done toffee. I discovered this when I first spectacularly failed to make standard hard toffee in a food technology class, and quickly decided I preferred it slightly over done.
The flavour is much lighter than treacle toffee but still has some of the warmth and depth that the black treacle would normally bring. Traditionally Bonfire Toffee comes in foil pans with a lolly stick stuck in it, but I like to wrap my burnt toffee around apples to make a halloween/bonfire treat hybrid.
Now obviously making toffee is dangerous, and in this case even more so because there is a fine line between slightly over done and just plain charred, and the line can be crossed very easily, just like going from plain old toffee to slightly over done toffee can take seconds, so for this you definitely need a sugar thermometer, and to be very very careful.
You will need:
Apples, I made 6 quite large ones
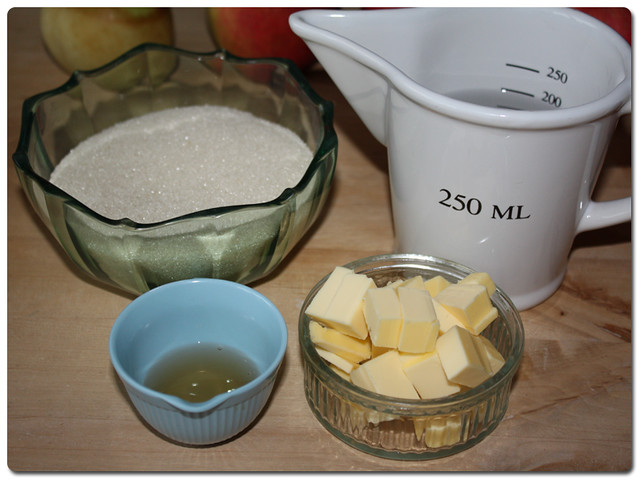
240g Golden Caster Sugar
220ml Water
2tsp White Wine Vinegar
50g Butter
Toffee Apple Sticks
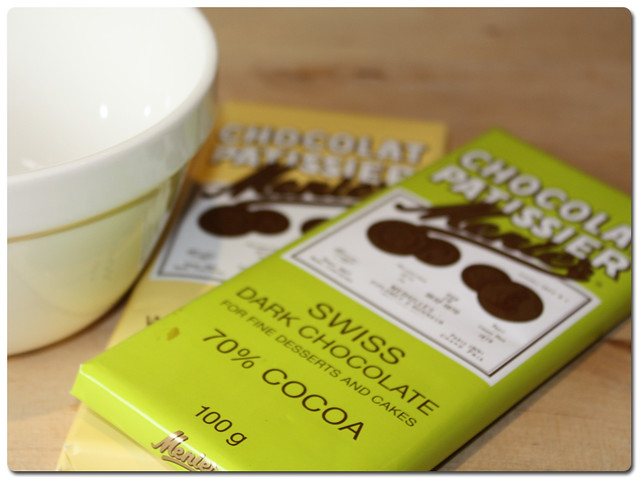
1 Bar each of cooking chocolate flavours for coating.
Red gel food colouring if you want to colour your toffee
To begin we need to remove the wax and stems from those apples, boil a full kettle with fresh water and leave to stand for a few minutes. Put your apples in a large bowl and pour the hot but not boiling water over them.
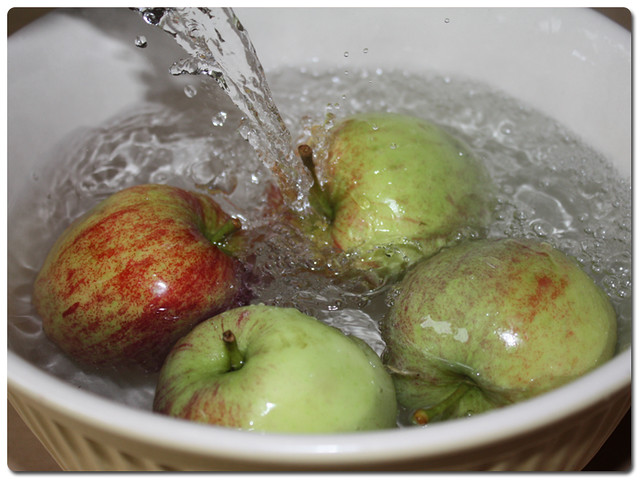
Be careful not to leave them in for too long, about 30 seconds is fine, or they will start to cook, so then fish them out with a slotted spoon and using a cloth hold the apple and twist out the stem (I didn't use a cloth, I burnt my fingers, learn from my mistakes!)
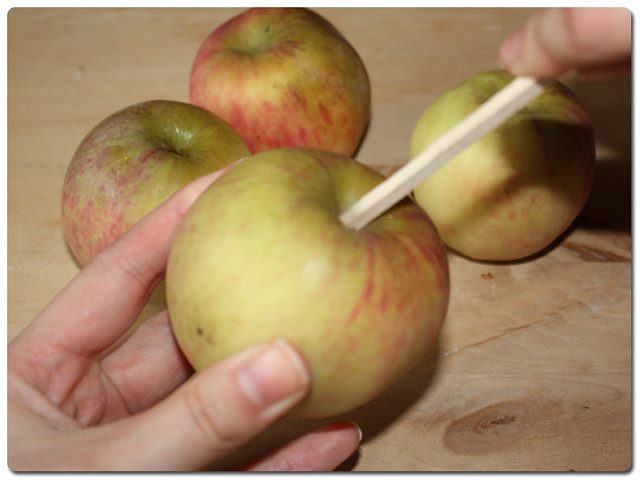
When you have removed the stalks, let them rest for a couple of minutes to cool slightly, then you need to stick your lolly sticks in. I have proper toffee apple ones which are square but you can use all manner of sticks for them. Make sure you try to aim straight down the core and insert them to about half way.
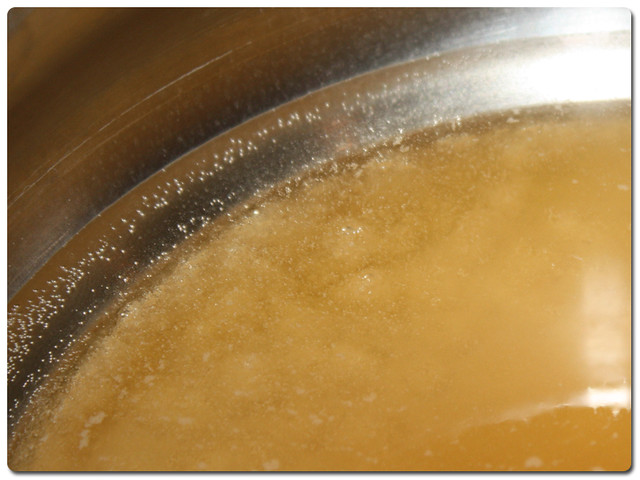
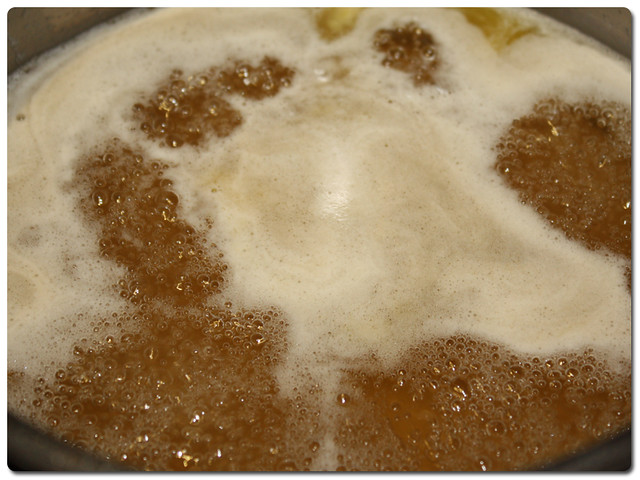
Once they are done, set up a baking tray with a sheet of greaseproof paper on it and stand the apples on it ready and then find yourself a heavy bottomed pan. Into your pan you need to put the sugar and water over a high heat and let the sugar dissolve into the water. It look pretty murky at this point I know, but don't stir it, that is pretty key to this whole toffee making process, do not stir!
Then as soon as the mixture gets to boiling point, slosh in your vinegar and butter, and again do not stir the mixture! Just let it do its thing.
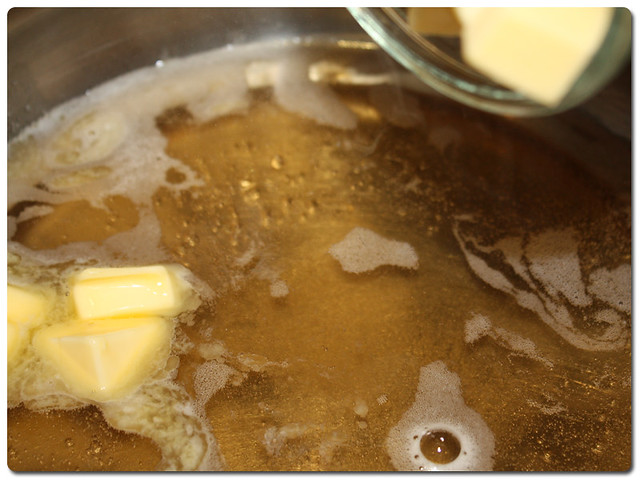
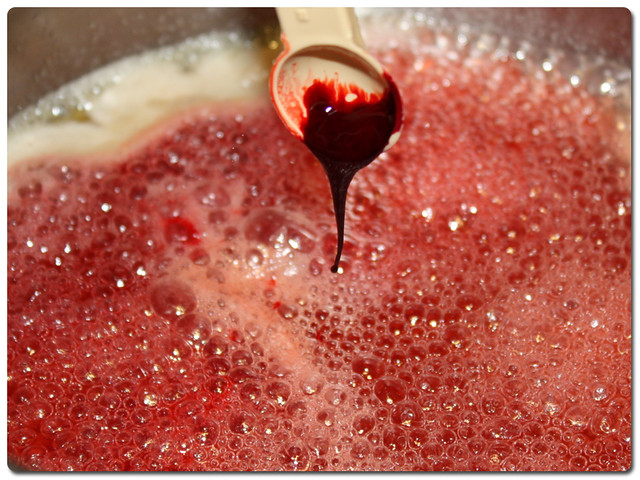
Once the butter is all melted in you can add your food colouring. I use gel colour because it adds a lot of colour for not much product, and I find the easiest way to do this is just to hold the colour on a spoon over the steam rising from the pan, it melts it right in and it mixes very nicely.
Now is the waiting game, you need to get your thermometer out and rest it in the mixture and wait until the temperature rises high enough to reach a hard crack. This can take quite a while, it took mine 15-20 minutes, but do not leave it unattended as that is when you run the risk of charred toffee.
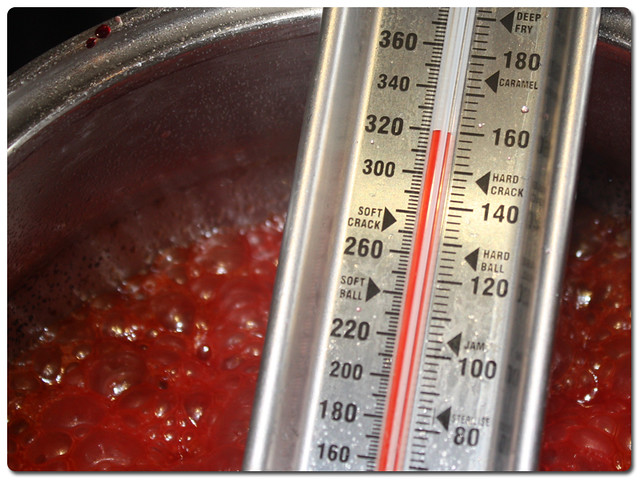
Hard crack is labelled on my thermometer as you can see, but it is 148 degrees if you don't have a handily labelled one. If you want typical toffee, this is where you grab the pan off the heat and start dipping your apples, as that is the correct "not burnt" temperature. However if you want a bit of extra depth to the flavour of your toffee wait a few seconds more until you pass 155 degrees, but do not let it go past 160. Pass 160 and you are into the realms of burnt the likes of which I cannot vouch for as yet (and do not try to take pictures while you do this, as you can see I came dangerously close and had to quickly abandon camera to save it).
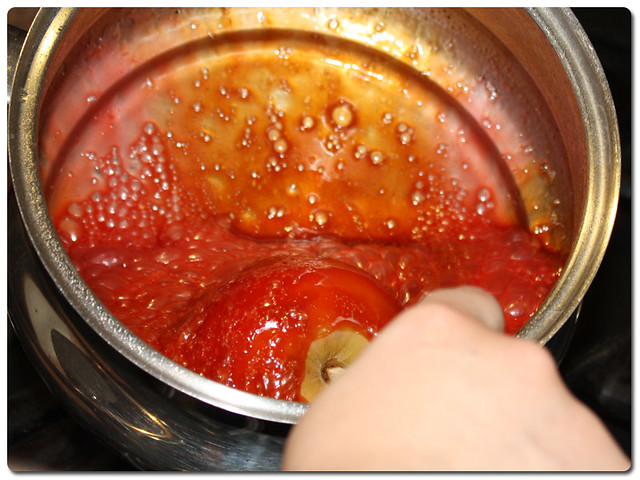
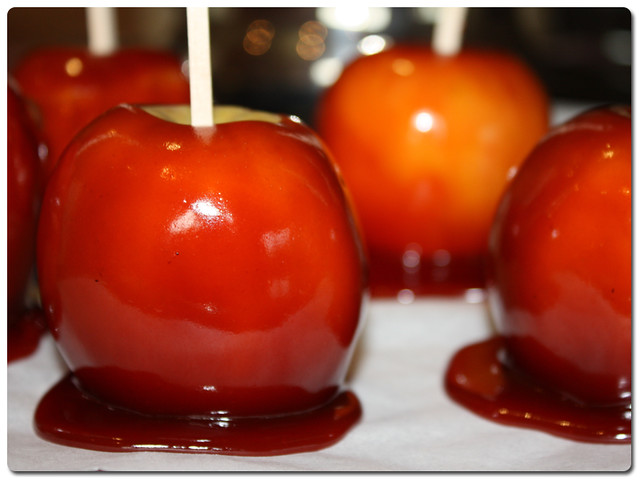
Once you have taken the toffee off the heat and given it a couple of seconds, grab your apples and start rolling them in the sugar, coat them well, and then hold them over the pan a little to drip off the excess otherwise they get a monstrously sized "foot" when you put them down and that makes it hard to coat them with chocolate (and it wastes toffee)
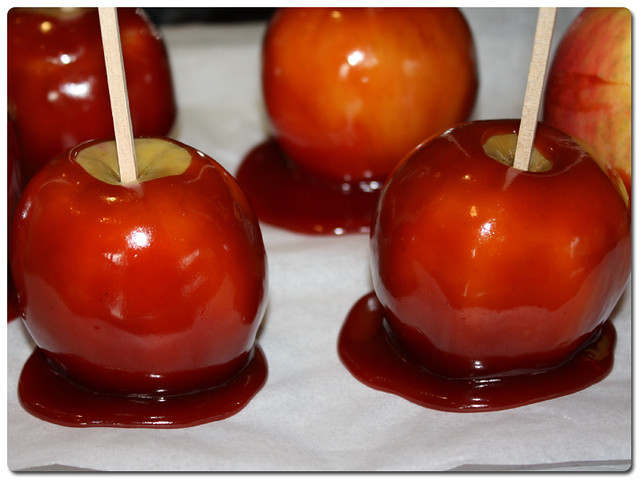
Once they are all coated and standing on your tray, let them cool while you admire them. Check out the russet tone to that toffee, that comes from both the food colour and the slight over cook, if I hadn't used food colour they would have more of a deeper brown tone than the clear light brown where you can still see through to the apple that you see in shops, but the brown tone in that red is the longer cooking time.
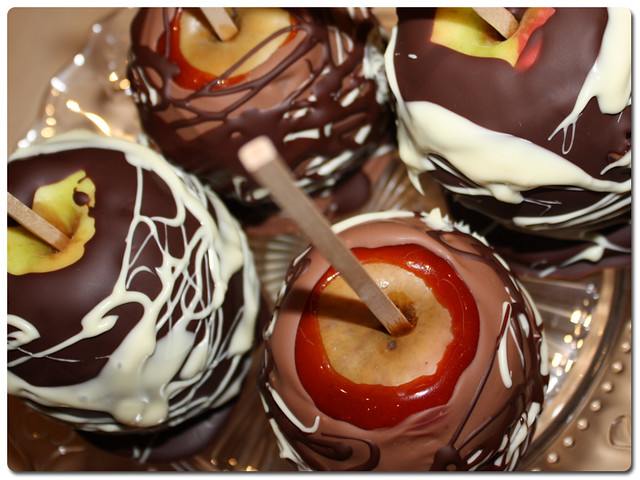
Once they have cooled and set you can think about turning these babies into luxury apples, with a good smothering of chocolate!
Take a bar and break it into chunks, and put it in a bowl to microwave. You can do this the old fashioned way with a pan of boiling water if you like but I'm lazy and have perfected the art of microwaved chocolate through an obsession with marshmallow fondue over the years.
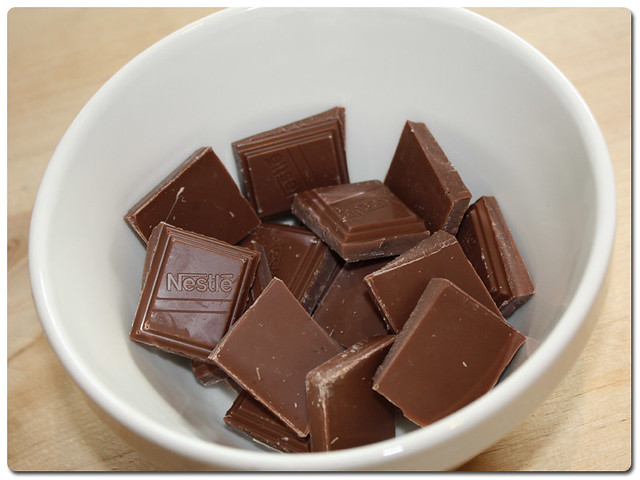
I always make sure it is in a small bowl, as it seems to be the chocolate being spread too thin and not being stirred that makes it burn, and then I microwave on a low wattage (usually 450 or 600, my microwave does multiple heats) for about 10/20 seconds at a time and give it a little stir at each interval.
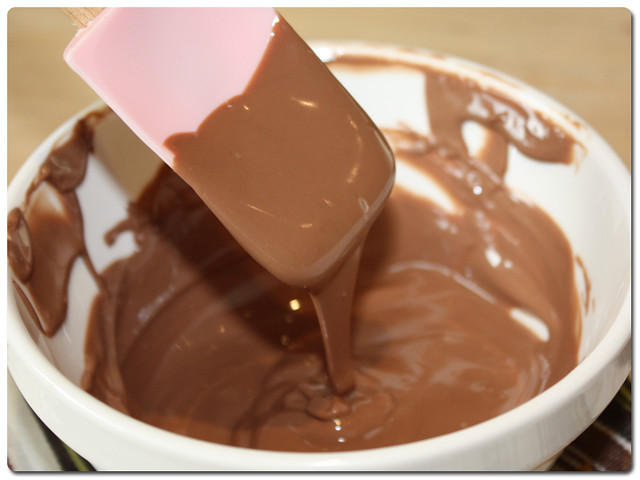
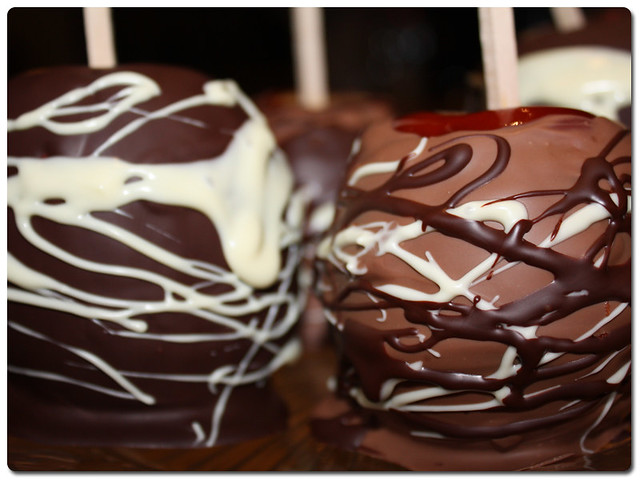
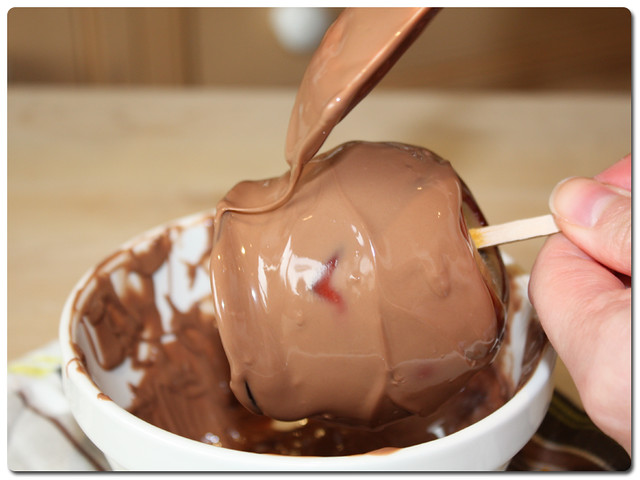
Once it is all delicious and melty, start to cover your apples. I do not recommend dunking them in unless you have made up a huge vat of chocolate, as there is never enough to cover them all, but instead I use a spatula and spread it over thickly enough that it smooths out any spatula strokes once I let the excess run off. One standard bar of cooking chocolate covered 4 of my apples, so I did the remainder in dark chocolate, beware though that dark chocolate is more viscous when liquid so will go further, and will also set to a harder chocolate.
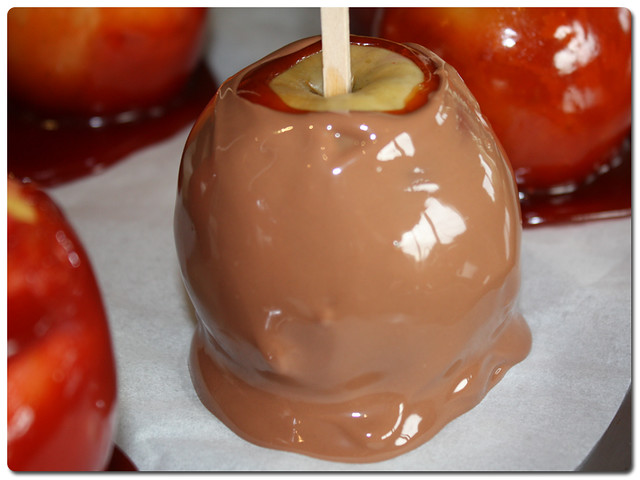
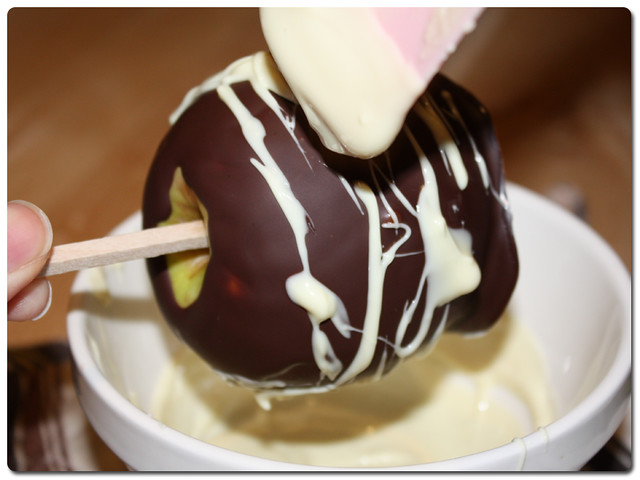
When your chocolate is set (and this will take a while) you can add some more chocolate drizzles to fancy them up a bit. I used both dark and white chocolate, and melted each the same way in the microwave in a small bowl.
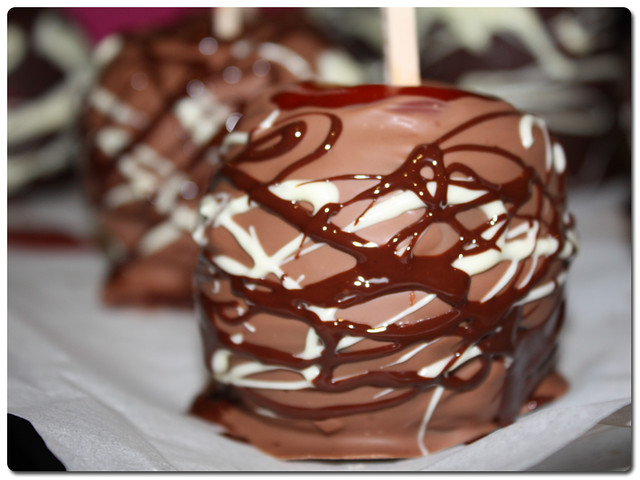
I used the same spatula to spread the chocolate over in drizzles, basically letting it go wherever it wanted to look pretty. You could add sprinkles here if you wanted, or if you really wanted to get fancy you could add toffee drizzles to your chocolate topped toffee apples. I might do that next time.
Again, you must leave them to set, and just admire them while not being able to eat them. When it does come to eating the beauties, the chocolate coating on the toffee makes it a little easier to bit into without cracking a tooth, but they still have that sweet warm taste of autumnal toffee underneath the silky chocolate. Do make sure you have napkins ready though as they are guaranteed to go all over your face, consider yourselves warned!
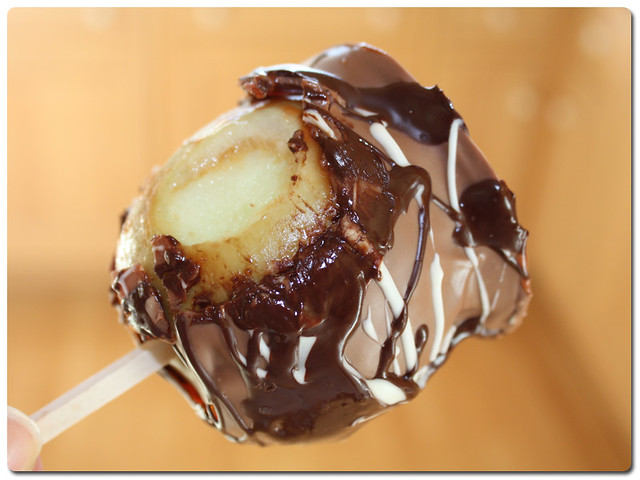
Delicious!